Create an old school gaming console with RetroPie
Single-board computers such as the Raspberry Pi are quickly surpassing the computers of yesteryear. They are perfect for building all kinds of projects, and when looking for a way to emulate the old snes, n64 and dos games I played as a kid, I stumbled across RetroPie. It is simple to setup and I will elaborate more below. For this project you will need a Raspberry Pi 2. I have attempted to do this with a Raspberry Pi B+ but I found it was a little slow emulating some games. Pi 2 has played everything I have wanted to play so far, and I might put together a list of games I have had success playing. I have done this using Windows, but if I get time I will write up a Linux or Mac tutorial as well. Note: I have kept these steps very simple, but If you need a hand let me know and I may be able to assist.
What hardware do you need?
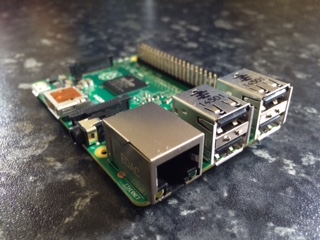
Raspberry Pi 2 – Get from your favorite electronic shop or buy online.
Micro USB Cable – To power your Pi. You are bound to have one or two of these around the house somewhere.
USB Wall Adapter – To power your Pi. Again, you most likely have one of these around the house. Think phone/tablet/etc.
Micro SD Card – For installing the operating system/storing the games. I’ve used a Verbatim 8GB Class 4 Micro SDHC
Ethernet Cable – To connect your Pi to the internet. You are bound to have one of these around the house.
Keyboard – To use as a controller – I all looking to get some USB Snes controllers, when I do I will add my experience with them on here.
HDMI cable – To connect to your TV.
Case for the Raspberry Pi – To help protect your Pi. Plenty of different option available.
What software do you need?
Win32 Disk Imager – For copying the SD Card Image to the SD Card.
FileZilla Client – For transferring games to the Raspberry Pi.
RetroPie SD Card Image – I downloaded version 3.0 for Raspberry Pi 2.
WinRAR – To extract the .img file from the compressed RetroPie SD Card Image.
Lets get started
First things first – download and install Win32 Disk Imager, FileZilla Client and WinRAR. Download the RetroPie SD Card image and extract the .img file ,using WinRAR, to Desktop.
Copying the RetroPie image to the Micro SD Card
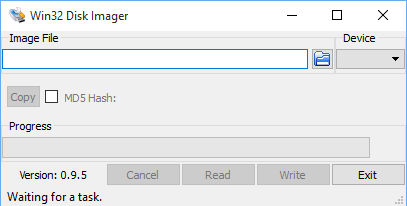
- Make sure your SD card in your card reader.
- Check your device drive letter in Computer and select that from the Device drop down box.
- Type the path for the SD card image we extracted earlier. e.g. C:/Users/PCUser/Desktop/retropie-v3.0rc1-rpi2.img
- Press Write. If you get the message:
“Writing to a physical device can corrupt the device.
(Target Device: [D:]””)
Are you sure you want to continue?
Press ‘Yes’. The image will now be copied over to the SD Card.You will be prompted with the message box below when transfer has finished.
Setting up RetroPie
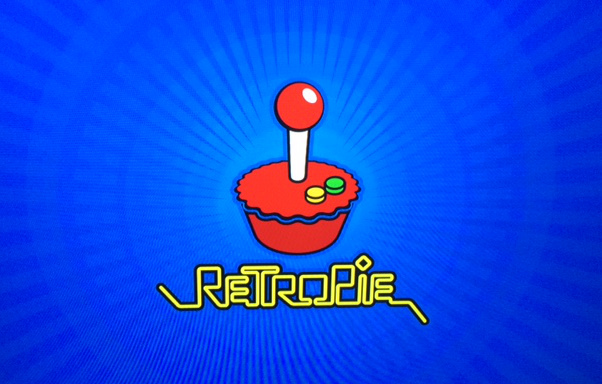
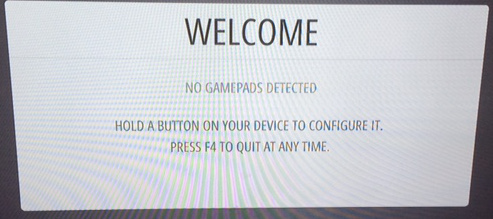
After the image has copied over successfully, put the SD card into your Raspberry Pi and power it on. Ensure you have you Pi plugged into the TV via HDMI and plugged into your home network via the Ethernet cable. If all has gone well you should eventually see this screen.
RetroPie recognises if you have no controllers. You will need to configure your controller. In this case I am just using a standard keyboard. Hold a key on the keyboard and set the keys to whatever you wish.
After you have completed this configuration press the Menu button and then select quit. A prompt will appear to ask if you want to quit Emulation station. Press yes. You will then need to press any key (where’s the any key?) to get the terminal emulator, otherwise emulation station will restart.
Some simple configuration
Now we will be prompted with the Terminal emulator. In which we will run a few commands. First type in sudo raspi-config and press enter. The first option is expand filesystem. Select this and press enter again. – This is the only real option we need to worry about at the moment. but it is also wise to change the password from raspberry to something a little more unique. You can change other settings, timezones, overclock, etc. We don’t need to change other settings for RetroPie to work, but feel free to have a look through the menu.
After looking though the menu select finish. You will be asked if you wish to reboot. Select ‘no’ for now.
The next command we will type is ifconfig. Ifconfig will show us the raspberry pi’s IP address. You will find this information under eth0 on the line starting with inet address. E.g. 10.0.0.6 or 192.168.20.13 or something similar. Take note of this IP.
Now we can reboot the raspberry pi. Type in the command sudo reboot
The Raspberry Pi will reboot back into Emulation Station.
Copying games over using FileZilla
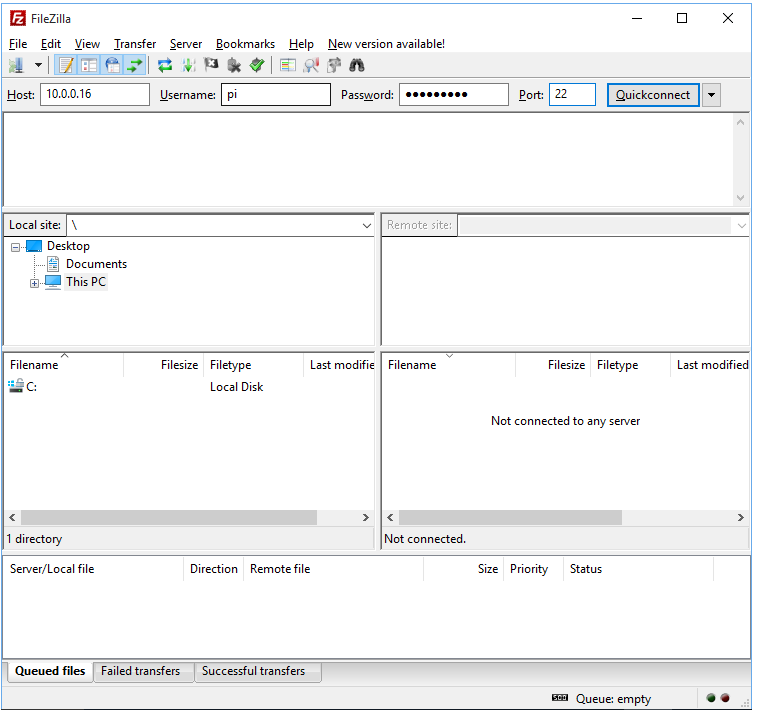
Open FileZilla. In the Quickconnect bar, type in your IP address, username (pi), password (raspberry if you haven’t updated the default) and set the port to 22. Click quickconnect.
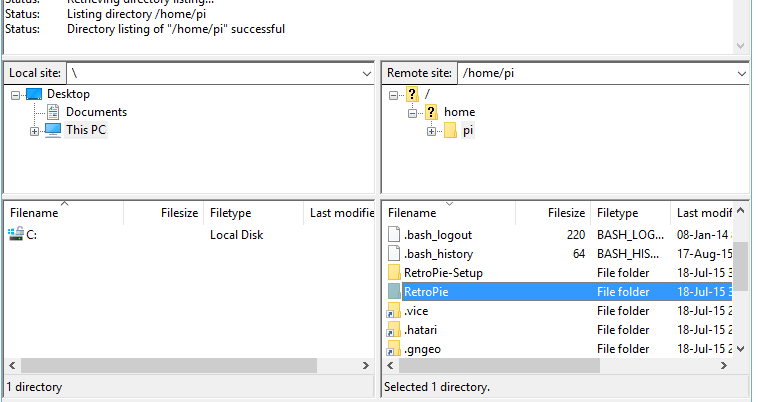
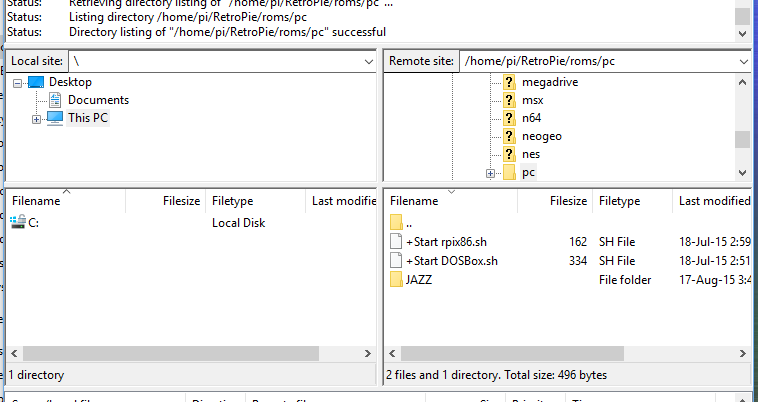
Once connected you will see a list of folders. Double click the RetroPie folder. Double click the ROMS folder. Choose the Gaming console and transfer the ROM file into the folder. For this example I have chosen PC.
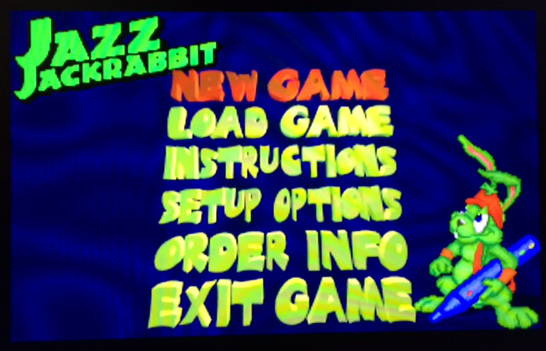
Transfer your ROM folder into the correct game console folder. For example I have transferred the Jazz Jackrabbit folder into the PC folder.
Closed FileZilla and you are ready to play.
Playing Games
Power on the Pi so that it boots into EmulationStation. Simply select the gaming console you wish to use and the games should be listed underneath. Select your game and it will open the emulator and play. If you are going to play DOS games, you will need to open DOSBox under the IBM menu. Type in the commands to open the exe and you’re right to go.
Happy gaming!